Installation & development
This guide contains information how to setup our E2E test suites on a local machine in order to work on the Features and Scenarios (Test authors) as well as Step implementations (QA team, or developers).
VSCode
We use Visual Studio Code (VSCode) to work with the test suite and use it as a single tool for most of the required tasks. It is a text editor with many features for developing software which are very handy while working on the test suite. Please download VSCode and install it on your system, you will use it in the rest of the guide as well as while working with the test suite.
VSCode comes with a great amount of documentation on almost all aspects of it’s functionality. This guide will take you through the basic setup and bare minimum to start working, however checking official documentation and the FAQ may be very beneficial.
Install code command line helper (optional)
In order to help with additional setup and easy support from the QA team,
install the code command. It allows opening VSCode from any location on
your machine using Terminal.
Documentation article Visual Studio Code on macOS provides detailed instructions how to install
the code command, please follow the instructions.
GitHub
Our test suites (as all our products and code) are using version control system called Git to track changes made by developers and contributors over the time. Please make yourself comfortable with basic concepts of GIT such as repository, commit, and so on, a great resource may be GitHub documentation.
Account and Testing team invitation
In order to access test suite code you need an account on GitHub and have Git installed and configured on your system.
- Create a GitHub account if you don’t have one yet.
- Once you have your account, contact member of the QA/Developer team to add you into the Testing team in order to give you access to the test suites.
Cloning test suite repository onto your local machine
1. Pick a location
You must pick a location for the test suite code which you will clone from
GitHub to your local machine. This location should not be backed up by
iCloud or Google Drive or other backup services. For example on MacOS the
Documents or Desktop are automatically part of the iCloud backup.
For this guide, let’s assume we create e2e folder on your machine
in inside your home or user folder (on MacOs it would contain Documents,
Desktop, Downloads, etc.. for example). Meaning the full path would be something
like this: Macintosh HD/Users/YOURNAME/e2e.
2. Authenticate with GitHub and clone the repository
The test suites for each product are on GitHub and their names are
e2e.booking, e2e.kaizen or e2e.practique. Remember, you will need to be assigned
to the testing team to access them.
When cloning the test suite repository you will have to choose a local folder which
is the e2e folder in your home directory we created before. You can choose the
name of the folder where the repository is cloned, we suggest using the same name
as a repository, eg… e2e.practique.
Please follow the Introduction to Git in VS Code article which provides a great instructions how to authenticate with GitHub and clone the relevant repository on your local machine. You will be asked for your GitHub account login information as part of the process.
After completing the steps above you will have a local copy of the test suite you chose and we can continue with setup to run the tests.
Installing the test suite dependencies
GitHub authentication for NPM package repository
When running the test suite, your machine needs access to the GitHub NPM package repository. We will again use VSCode to finish this task.
-
Obtain GitHub NPM access token from 1Password
fry-devbotentry in the Developer Tools vault. Copy value ofGitHub access tokenwhich is a long string in this format:ghp_...ReL -
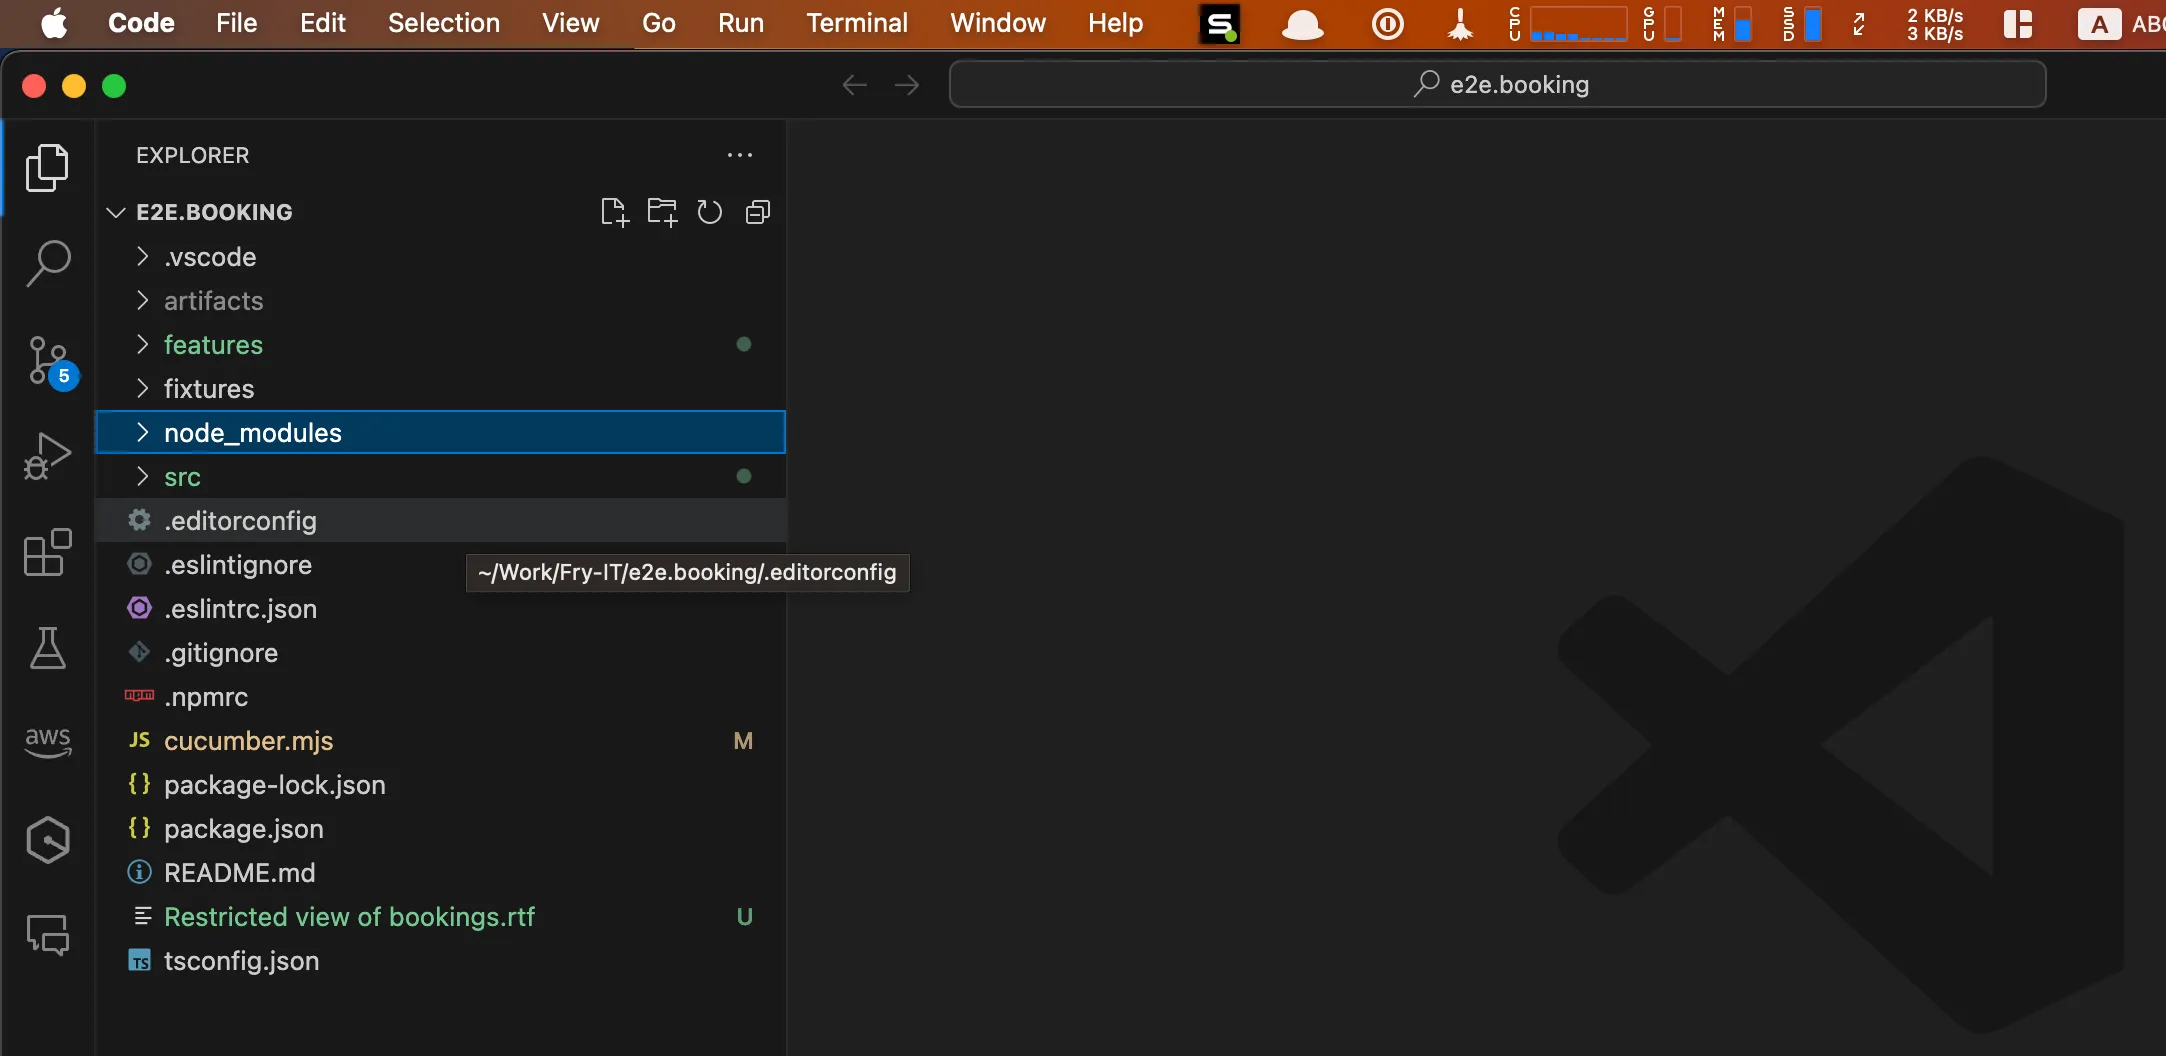
In VSCode open Terminal using
View > Terminal, this will open new Terminal window at the bottom right corner of the screen. -
In the terminal you need to type following commands (one by one), replace TOKEN with string from step 1:
touch ~/.npmrc echo "//npm.pkg.github.com/:_authToken=TOKEN" >> ~/.npmrc -
Verify that the configuration was successful by running
npm config listin the opened Terminal window. You should see output like this: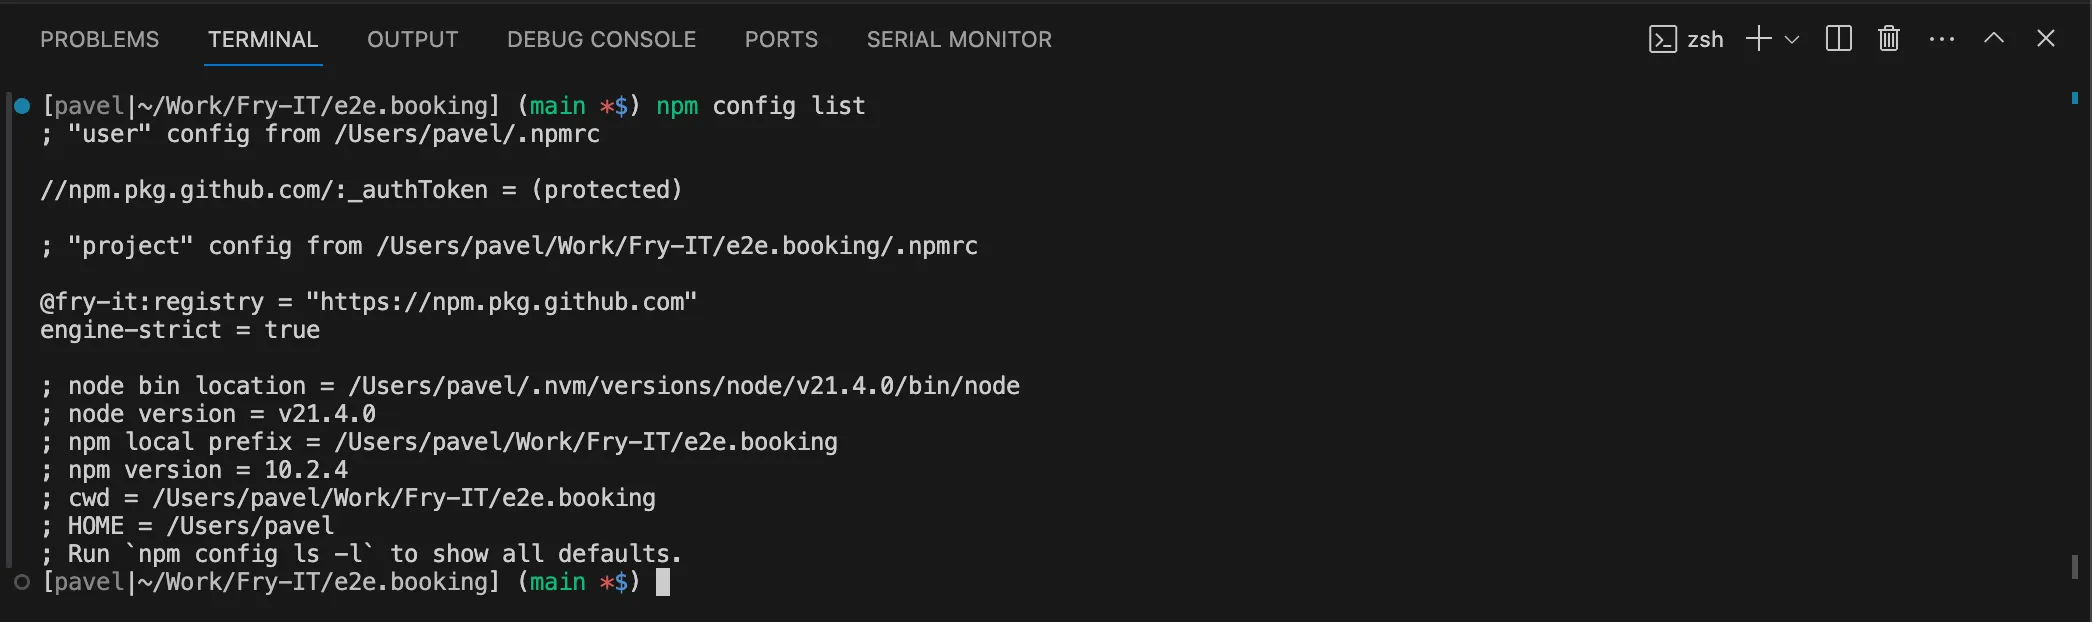
Installing Node.js, npm and other dependencies
With setup above done, we can install dependencies for e2e.(kaizen|booking|…) test suite using the same Terminal window as in previous tasks.
-
First we need to install Homebrew package manager for Mac OS which will allow us to install remaining dependencies:
/bin/bash -c "$(curl -fsSL https://raw.githubusercontent.com/Homebrew/install/HEAD/install.sh)"The installation will finish shortly and you will see screen which promts you to run two commands to finish the installation. Please run these, and then run
brew doctor:(echo; echo 'eval "$(/opt/homebrew/bin/brew shellenv)"') >> ~/.zprofile eval "$(/opt/homebrew/bin/brew shellenv)" brew doctor // Response will be 'Your system is ready to brew.' -
Install
git-lfswhich is a Git extension for versioning large files:brew install git-lfs git lfs install git lfs pullGit LFS is used to store large files in the repository, such as images or PDFs, after runnig above commands it will download these files to your machine and install the integration with Git.
-
If you are developing on machine with Apple Silicon, you must install following dependencies for
pdf-img-convertlibrary before runningnpm installin step 5:brew install pkg-config cairo pango libpng jpeg giflib librsvg -
Install nvm, a version manager for Node.js:
brew install nvm // follow post-install instructions, how to finish these? -
Install Node.js and the test suite dependencies:
nvm install --lts nvm use --lts npm install npx playwright install -
Verifying successful installation by executing the first test:
npm run test node_modules/@fry-it/e2e.support/verify-installation.featureThe outcome should be:
...
> @fry-it/e2e.booking@2.0.0 test
> NODE_OPTIONS="--loader ts-node/esm --no-warnings" cucumber-js node_modules/.......

Test suite configuration:
{
   ... a lot of text ...
}

...

1 scenario (1 passed)
1 step (1 passed)
0m10.797s (executing steps: 0m10.745s)
[pavel|~/Work/Fry-IT/e2e.booking] (main *$)